




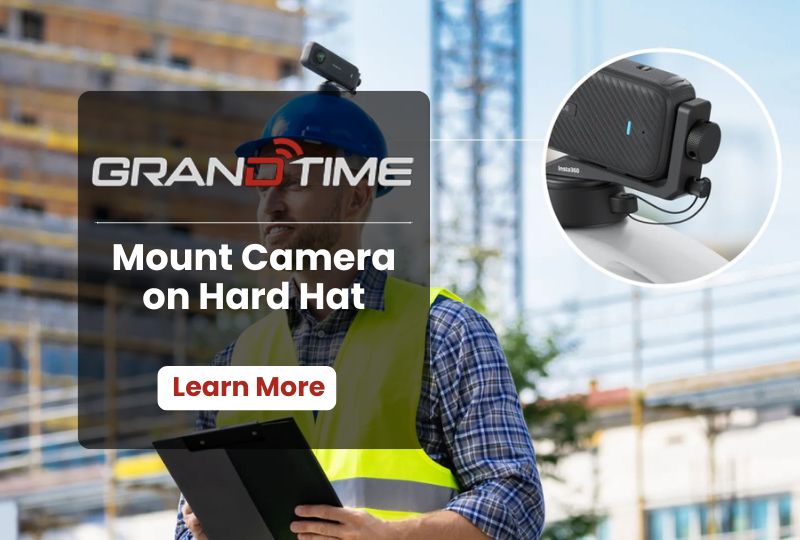
Mounting a camera on a hard hat has become common practice across construction, utilities, inspection work, and public safety. It gives supervisors a first-person view of jobsite conditions, helps document incidents, and supports remote inspections without pulling a worker off task.
But a hard hat is safety equipment first. Before you attach anything to it, it helps to understand the helmet camera mount options available, how to avoid damaging the shell, and how to get stable, usable footage. I will walk through the entire process.
Why Workers Mount Cameras on Hard Hats
A helmet-mounted camera captures exactly what the wearer sees. That point-of-view angle is useful for a few reasons:
- It documents site conditions in real time without needing a separate handheld device
- It supports remote inspections, letting an off-site manager see a job as it happens
- It creates a video record for safety audits, training, or incident review
- It keeps both hands free for actual work
This is different from a chest-mounted body camera, which sits lower and captures a wider, more stable field of view. Many field teams use both together, a body camera for continuous recording and a helmet camera for close-up, detail-level footage.
Know the Compliance Rules Before You Mount Anything
Hard hats sold are certified under ANSI/ISEA Z89.1, and OSHA references this standard under 29 CFR 1910.135 (general industry) and 29 CFR 1926.100 (construction). The certification applies to the hard hat exactly as it was manufactured and tested.
A few rules to keep in mind:
Never drill into the shell. Drilling a hole to bolt on a mount creates a stress point in the shell. It can compromise impact resistance and voids the ANSI Z89.1 rating immediately.
Avoid unauthorized bolt-on accessories. Attaching cameras, lights, or brackets that were not designed for the specific hard hat model can also affect its certified rating, and some employers flag this during safety audits.
Choose non-permanent mounting methods. Adhesive pads, clip-on brackets, and slot-mounted accessories designed for hard hats are the safer route because they don’t alter the shell structure.
Check your hard hat’s accessory slots. Many cap-style hard hats include side rail slots meant for face shields or earmuffs. Some camera mounts are designed to use these slots without any modification.
If your team needs camera-ready head protection from the start, it’s worth looking at helmet options built with mounting points already engineered in, rather than retrofitting a standard hard hat. This is one of the reasons Grandtime designs its smart helmet camera systems around integrated mounts instead of aftermarket attachments.
Types of Hard Hat Camera Mounts
There are four common mounting styles, and the right one depends on your hard hat model and the camera you’re using.
Adhesive mounts. A flat or curved base with industrial-strength adhesive, usually 3M-style tape. This is the most popular option for action cameras because it requires no drilling and holds firmly once cured. It works best on the smooth top or side surface of a cap-style hard hat.
Magnetic mounts. A metal washer is adhered to the hard hat, and the camera housing attaches magnetically. This makes it easy to remove the camera between shifts and share one camera across multiple hard hats, since only the washer needs to be applied to each one.
Clip or slot mounts. These attach to the existing accessory slots on the side of the hard hat, the same slots used for face shields or hearing protection. No adhesive or drilling needed, though not all hard hat models have these slots.
Chin or strap mounts. Common for full-face helmets and less common on standard hard hats, since most hard hats don’t have a chin strap suited for this. More relevant for climbing-style safety helmets.
For most jobsite use, adhesive and magnetic mounts offer the best balance of stability and flexibility.
Choosing the Right Camera
Before mounting anything, think through a few practical factors:
Weight. A heavier camera sitting off-center on the hard hat can affect balance and comfort over a full shift. Lightweight action cameras or purpose-built helmet cameras are usually a better fit than bulky consumer models.
Battery life. If you’re recording for long stretches, look for a camera with several hours of runtime or the ability to run on external power.
Field of view. A wide-angle lens captures more of the scene but can distort the edges. A narrower lens gives a more natural, focused view.
Durability. Jobsite conditions mean dust, moisture, and occasional impact. Look for an IP-rated, rugged housing.
Connectivity. Some teams need live streaming for remote supervision, which means a camera with WiFi or 4G capability rather than one that only records to local storage.
Step-by-Step: How to Mount a Camera on a Hard Hat
Step 1: Inspect the Hard Hat
Check the shell for cracks, dents, or UV damage before mounting anything. A damaged hard hat should be replaced, not used as a camera platform.
Step 2: Choose Your Mount Location
Pick a spot that keeps the camera balanced and out of the way of the brim’s protective function. The top-center or upper side of the shell works well for most cap-style hard hats. Avoid the very front edge, since it can obstruct upward vision or catch on overhead obstacles.
Step 3: Clean the Surface
If you’re using an adhesive mount, clean the mounting area with rubbing alcohol and let it dry fully. Any dust, oil, or residue will weaken the bond.
Step 4: Apply the Mount
Peel the backing off the adhesive pad, align it with your marked spot, and press it firmly in place. Hold steady pressure for about 30 seconds. If your kit uses a magnetic washer, apply it the same way.
Step 5: Let the Adhesive Cure
Most adhesive mounts need 24 hours to reach full bond strength. Attaching a camera before the adhesive cures increases the risk of it shifting or falling off mid-shift.
Step 6: Attach the Camera
Once cured, snap or screw the camera onto the mount base. If it’s a magnetic mount, the camera housing should click firmly onto the washer.
Step 7: Adjust the Angle
Tilt the camera so it captures a natural point-of-view angle, generally level with where your eyes would be looking. Use the camera’s live preview if available to fine-tune this.
Step 8: Test Before Full Use
Move your head side to side and up and down to confirm the mount holds steady. Record a short test clip to check the angle, stability, and footage quality before relying on it for a full shift.
Maintenance Tips
- Check the mount adhesion weekly, especially in hot or humid environments where bonds can weaken faster
- Wipe the camera lens regularly to keep footage clear of dust and smudging
- Remove the camera before storing the hard hat in direct sunlight for long periods, since heat can soften adhesive over time
- Replace the mount if you notice any lifting at the edges rather than waiting for it to fail completely
Frequently Asked Questions
Does mounting a camera void my hard hat’s warranty?
Adhesive or clip-on mounts generally don’t affect the warranty since they don’t alter the shell. Drilling holes or bolting on unauthorized hardware typically does void both the warranty and the ANSI Z89.1 certification.
Can I mount a body camera on a hard hat instead of a helmet camera?
Most body cameras are designed for chest mounting and are heavier than dedicated helmet cameras, so they aren’t ideal for the top of a hard hat. A lighter, purpose-built helmet camera is usually a better fit for headwear.
How long does a hard hat camera mount last?
A quality adhesive or magnetic mount typically lasts several months to a few years with proper care, depending on exposure to heat, moisture, and regular impact.
Is it legal to record video with a hard hat camera at work?
In most cases, yes, particularly for safety documentation and inspection purposes. Employers should still have a clear policy covering consent, storage, and use of the footage, especially in states with two-party recording consent laws.